Apparently changing the connection string of an ODBC (RDO) connection in Crystal Reports dynamically (at runtime) is hard to do.
I had a crack at it and this is what I came up with:
private static ConnectionInfo GetConnectionInfo()
{
    // DbConnectionAttributes contains some, but not all, consts.
    var logonProperties = new DbConnectionAttributes();
    logonProperties.Collection.Set("Connection String", @"Driver={SQL Server};Server=TODD-PC\SQLEXPRESS2;Trusted_Connection=Yes;");
    logonProperties.Collection.Set("UseDSNProperties", false);

    var connectionAttributes = new DbConnectionAttributes();
    connectionAttributes.Collection.Set("Database DLL", "crdb_odbc.dll");
    connectionAttributes.Collection.Set("QE_DatabaseName", String.Empty);
    connectionAttributes.Collection.Set("QE_DatabaseType", "ODBC (RDO)");
    connectionAttributes.Collection.Set("QE_LogonProperties", logonProperties);
    connectionAttributes.Collection.Set("QE_ServerDescription", @"TODD-PC\SQLEXPRESS2");
    connectionAttributes.Collection.Set("QE_SQLDB", true);
    connectionAttributes.Collection.Set("SSO Enabled", false);

    return new ConnectionInfo
               {
                   Attributes = connectionAttributes,
                   // These don't seem necessary, but we'll include them anyway: ReportDocument.Load does
                   ServerName = @"TODD-PC\SQLEXPRESS2",
                   Type = ConnectionInfoType.CRQE
               };
}
This function imitates the ConnectionInfo object that I saw ReportDocument.Load produce.
Now we’ve got a ConnectionInfo we have to apply it. The correct way seems to be to iterate over:
- subreports and their tables
- your report and its tables
Once the ConnectionInfo has been applied you can set your parameters.
I made a small demo application to test my code. For simplicity’s sake the report has one connection and no parameters, so the code to configure the report’s connection is quite simple:
private void Form1_Load(object sender, EventArgs e)
{
    var reportDocument = new ReportDocument();
    reportDocument.Load(@"CrystalReport1.rpt");
    var table = reportDocument.Database.Tables[0];
    var logonInfo = table.LogOnInfo;
    logonInfo.ConnectionInfo = GetConnectionInfo();
    table.ApplyLogOnInfo(logonInfo);

    crystalReportViewer1.ReportSource = reportDocument;
}
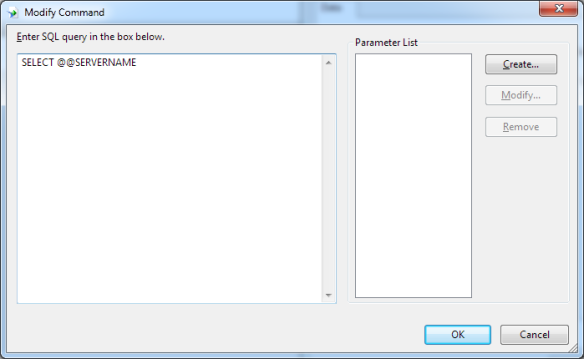
Now if we take a quick look at the way the report is set up, you’ll see it has one command that asks for the server name:
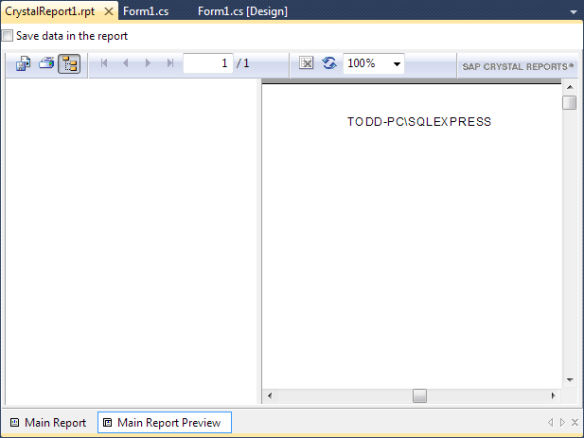
The connection string in the report is configured to point to the first of two SQL Server instances on my machine. We can verify this by previewing the report:
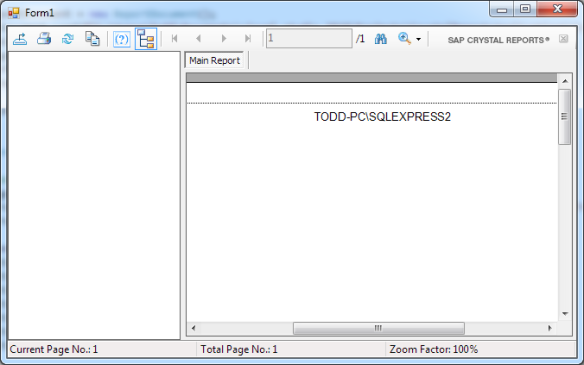
But that’s not what you came here to see! If we run the application, we see Crystal Reports connect to the server we specified in the code behind:
Note that the retrieved server name is TODD-PC\SQLEXPRESS2.
Update
I’ve since found that ApplyLogonInfo uses the server name to determine which properties in the connection details to update. Depending on your circumstances, you may want to always generate a unique server name/description to ensure that as many properties as possible are changed.


